A Git remote is a reference to a copy of your repository hosted elsewhere — GitHub, GitLab, Bitbucket, or your own server. This guide explains how to add, inspect, rename, and remove remotes, and how remote tracking branches work.
The Problem
You've initialized a local repository and written some commits, but you have no idea how to connect it to GitHub or push your work anywhere. Or you're trying to pull from a second remote and Git says it doesn't know where to look.
Remotes are the bridges between your local repository and the rest of the world. Understanding how to add, list, and manage them is essential for any collaborative workflow — whether you're pushing to GitHub, pulling from an upstream fork, or working with multiple team servers.
Common mistakes developers make with this:
Forgetting to add a remote after git init, then being unable to push
Confusing origin (your fork) with upstream (the original project)
Pushing to the wrong remote by accident
Not knowing that remote tracking branches like origin/main are just local snapshots
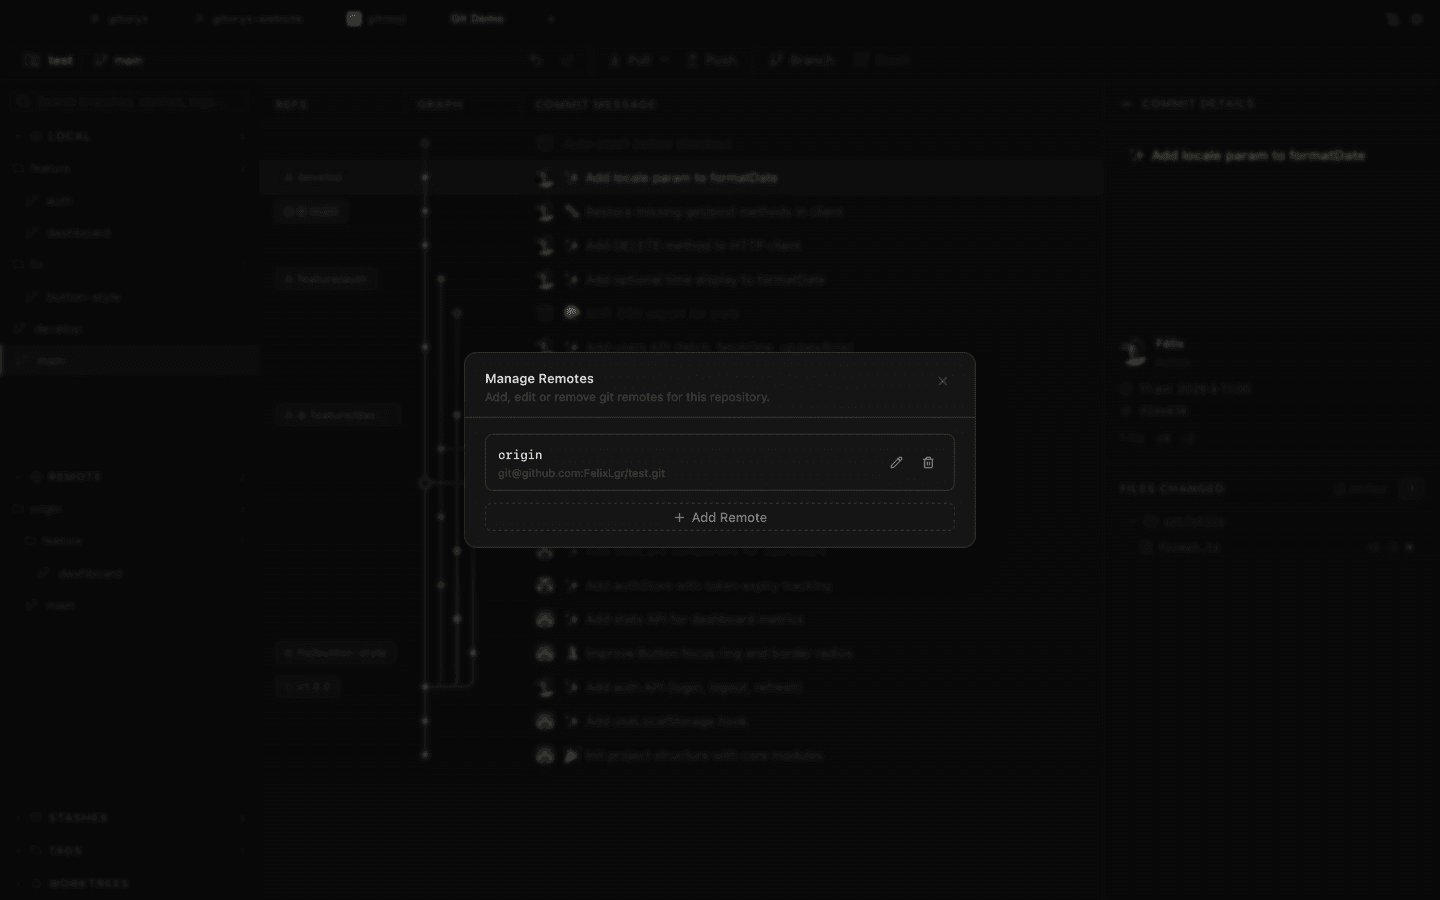
Gitoryx: Gitoryx lists all your remotes in the sidebar, shows their tracking branches in the commit graph, and lets you fetch, pull, or push to any remote in one click.
What is Remote: Connect Your Repo to a Remote Server?
A Git remote is a named reference to a repository hosted somewhere else — GitHub, GitLab, Bitbucket, or any server. The most common remote is origin, which Git creates automatically when you clone a repository.
Step-by-Step Guide
1
List existing remotes
Start by checking what remotes are already configured in your repo.
git remote show gives you a full picture of a remote: its URL, all tracked branches, and which local branches are configured to push/pull from it.
bash
git remote show origin

# Output:
# * remote origin
#   Fetch URL: git@github.com:user/my-project.git
#   Push  URL: git@github.com:user/my-project.git
#   HEAD branch: main
#   Remote branches:
#     develop tracked
#     main    tracked
#   Local branch configured for 'git pull':
#     main merges with remote main
#   Local ref configured for 'git push':
#     main pushes to main (up to date)
Run git remote show origin before pushing to an unfamiliar remote to confirm you're targeting the right branch.
8
Understand remote-tracking branches
Remote-tracking branches like origin/main are local read-only snapshots of what the remote looked like the last time you fetched. They update only when you run git fetch or git pull.
bash
# See all remote-tracking branches
git branch -r

# origin/HEAD -> origin/main
# origin/develop
# origin/main

# Compare your local main with the remote snapshot
git log origin/main..main     # commits you have locally but remote doesn't
git log main..origin/main     # commits on remote that you don't have yet

# Update all remote-tracking branches without merging
git fetch --all
origin/main is NOT the same as main. It's a cached snapshot. Always git fetch before comparing branches.
9
Clean up stale remote-tracking branches
After remote branches are deleted (e.g., after a merged PR), their local tracking references stick around. git remote prune cleans them up.
bash
# See which remote-tracking refs are stale (dry run)
git remote prune origin --dry-run

# Actually remove the stale refs
git remote prune origin

# Combine fetch + prune in one command
git fetch --prune

# Or configure git to always prune on fetch:
git config --global fetch.prune true
git remote prune only removes your local tracking refs — it does NOT delete anything on the remote server. It's always safe to run.
Common Mistakes to Avoid
Mixing up origin and upstream
When working on a fork, origin is your copy, upstream is the original. Pushing to upstream (if you don't have write access) fails; pulling from origin instead of upstream misses new changes from the source project.
Fix: Always confirm with git remote -v before pushing or pulling.
Not fetching before checking remote tracking branches
origin/main is a local snapshot of the remote branch. It only updates when you fetch.
Fix: Run git fetch origin to update all remote tracking branches before comparing or merging.
Forgetting to set upstream when pushing a new branch
Git says 'The current branch has no upstream branch' when you try to push a branch for the first time.
Fix: Use git push -u origin <branch> the first time. The -u flag sets the tracking relationship.
Gitoryx — macOS & Windows
Manage all your remotes visually in Gitoryx
Remotes and their branches appear directly in the commit graph
Add, rename, or remove remotes from the sidebar — no CLI needed
Fetch all remotes at once with a single click
See at a glance if your branch is ahead or behind origin
origin is the default name Git gives to the remote from which you cloned. It's just a shorthand alias for the full remote URL. You can rename it or have multiple remotes with different names.
What is the difference between origin and upstream in Git?
When you fork a project, origin is your personal fork and upstream is the original repository you forked from. You push to origin (your fork) and pull updates from upstream (the source). This is a naming convention, not enforced by Git.
What is the difference between `git fetch` and `git pull`?
git fetch downloads new data from the remote and updates remote tracking branches (like origin/main) but does not change your local branch. git pull does a fetch followed by a merge (or rebase) into your current branch.
Can I have multiple remotes?
Yes. You can add as many remotes as you need. Common setups include origin (your fork) and upstream (the original project), or multiple deployment targets like origin, staging, and production.
How do I push to a remote for the first time?
Use git push -u origin <branch-name>. The -u flag sets the tracking relationship so future git push and git pull commands know which remote branch to use.
What is a remote-tracking branch?
A remote-tracking branch (e.g., origin/main) is a local, read-only snapshot of what a remote branch looked like the last time you fetched. It updates only when you run git fetch or git pull. Use git branch -r to list all remote-tracking branches.
How do I remove stale remote-tracking branches?
Run git remote prune origin to delete local references to remote branches that no longer exist. Use git fetch --prune to do the same automatically every time you fetch. This is safe — it only removes local refs, not anything on the remote.
How do I change a remote URL in Git?
Run git remote set-url origin <new-url>. This is useful when switching from HTTPS to SSH, or when a repository moves. Verify the change with git remote -v.
Everything in this tutorial is faster and clearer with a visual Git client. Gitoryx is free, runs natively on macOS and Windows, and built for developers who want to move fast without breaking things.